Giulia (Type 105) 1962-1993
Andrew Mulheirn
3738

Bodywork!

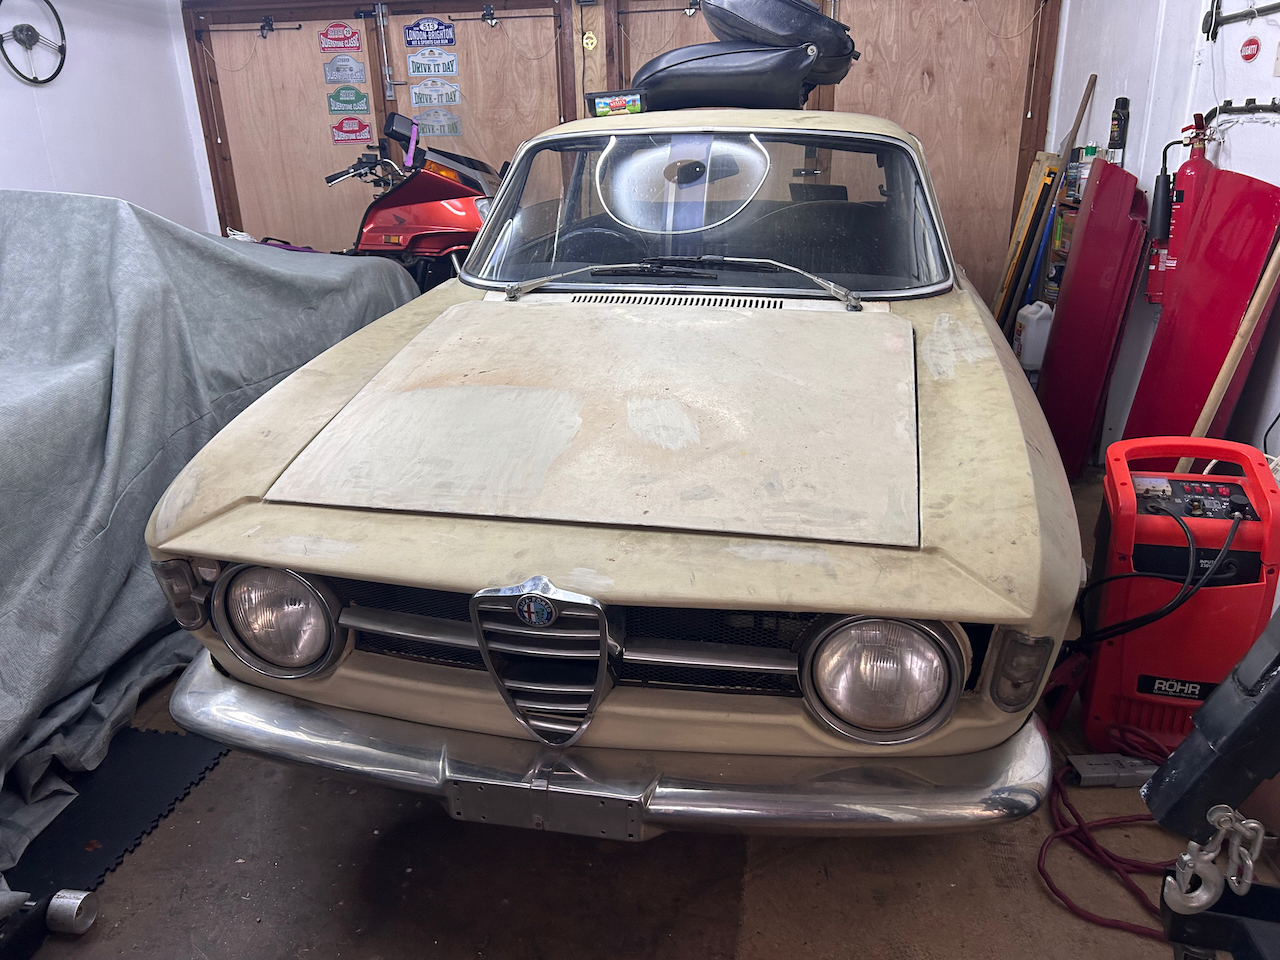
My newly acquired Alfa is a Johannesburg car originally, supplied as a knock-down kit in 1968. It was stored for a long time under cover and was acquired by the person who imported it for me as part of a deceased estate.
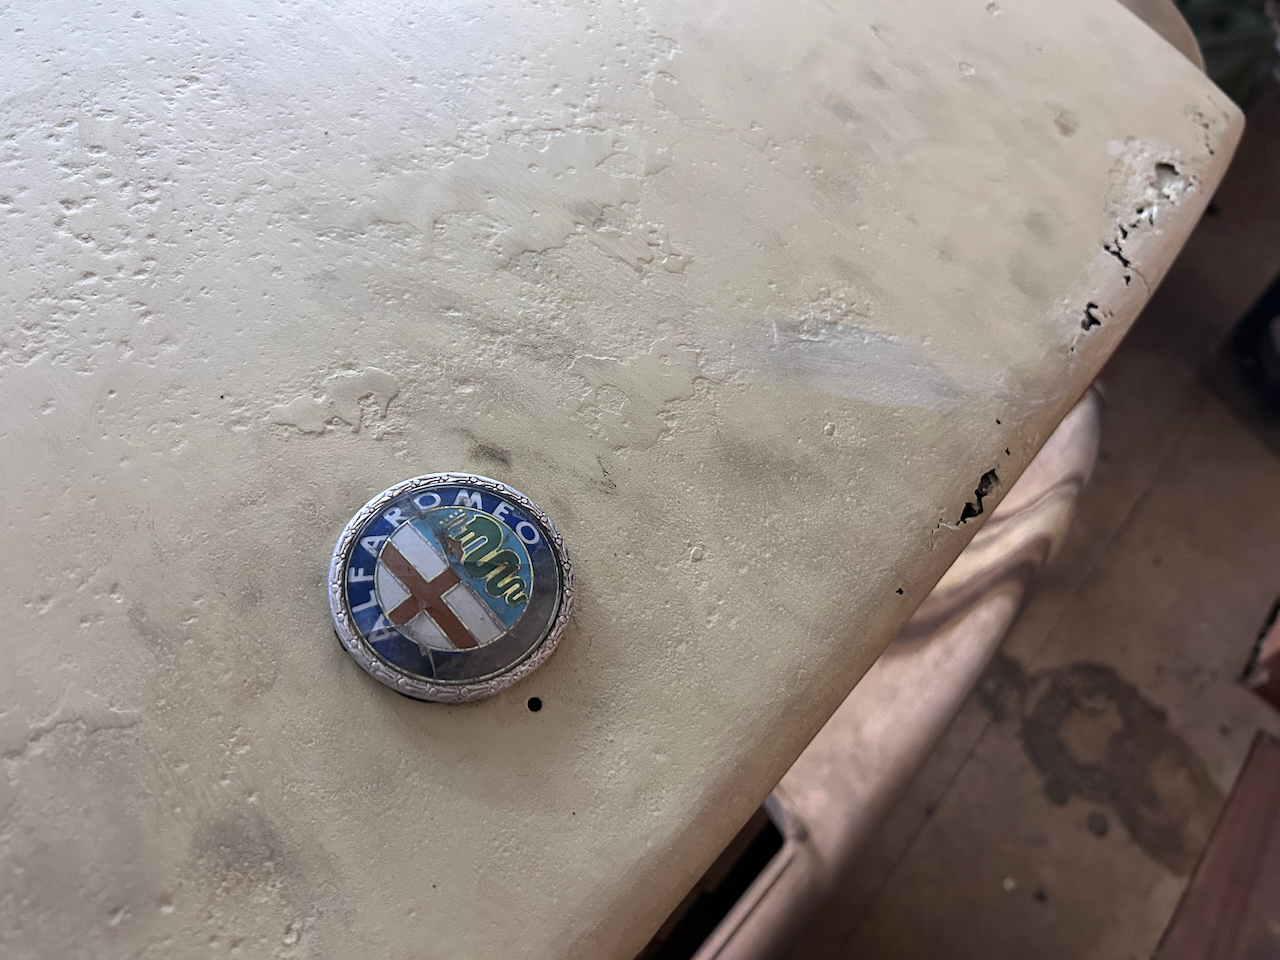
The body is solid, but for some reason the paintwork is atrocious. Some repairs had been done in South Africa before it was imported, and they were painted with a brush, but the bits that weren't painted are almost acne-ridden. It is going to be interesting putting the Nitromors onto the paint to see what it's like. I'm somewhat tempted to drive it as a rat-rod for a while anyway.
Dashboard

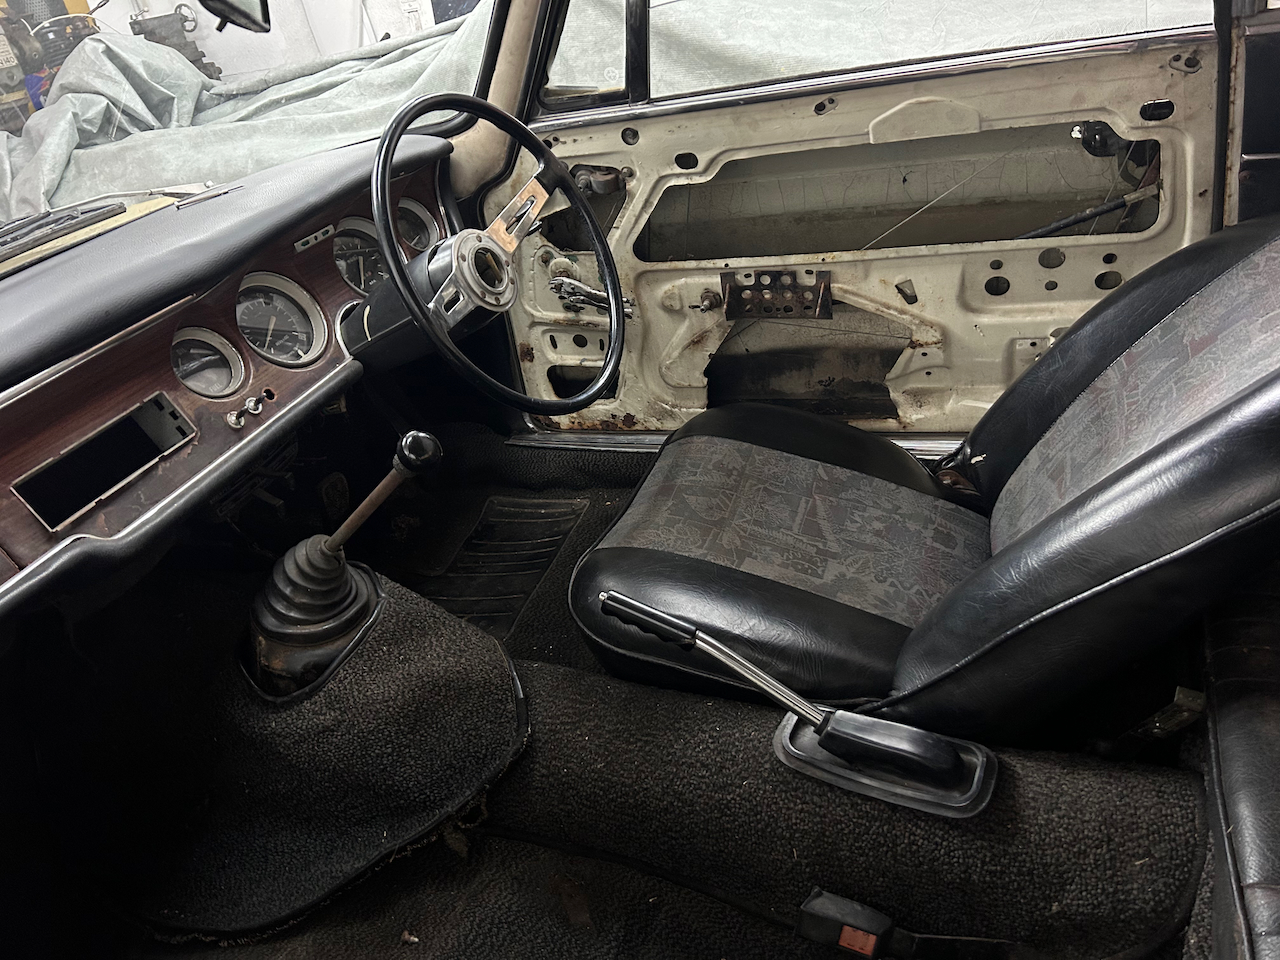
This car is an early 'flat dash' car, of which I don't think many appeared in the UK. At that time we had not joined the common market and import taxes on foreign cars made this model of car almost as expensive as an E-Type.
Initially I preferred the series 2 cars with the binnacles for each big gauge, but the flat dash has really grown on me. The top pad was probably split by the sun, and has been hastily repaired by someone. That will need re-doing I think.
Wiring loom

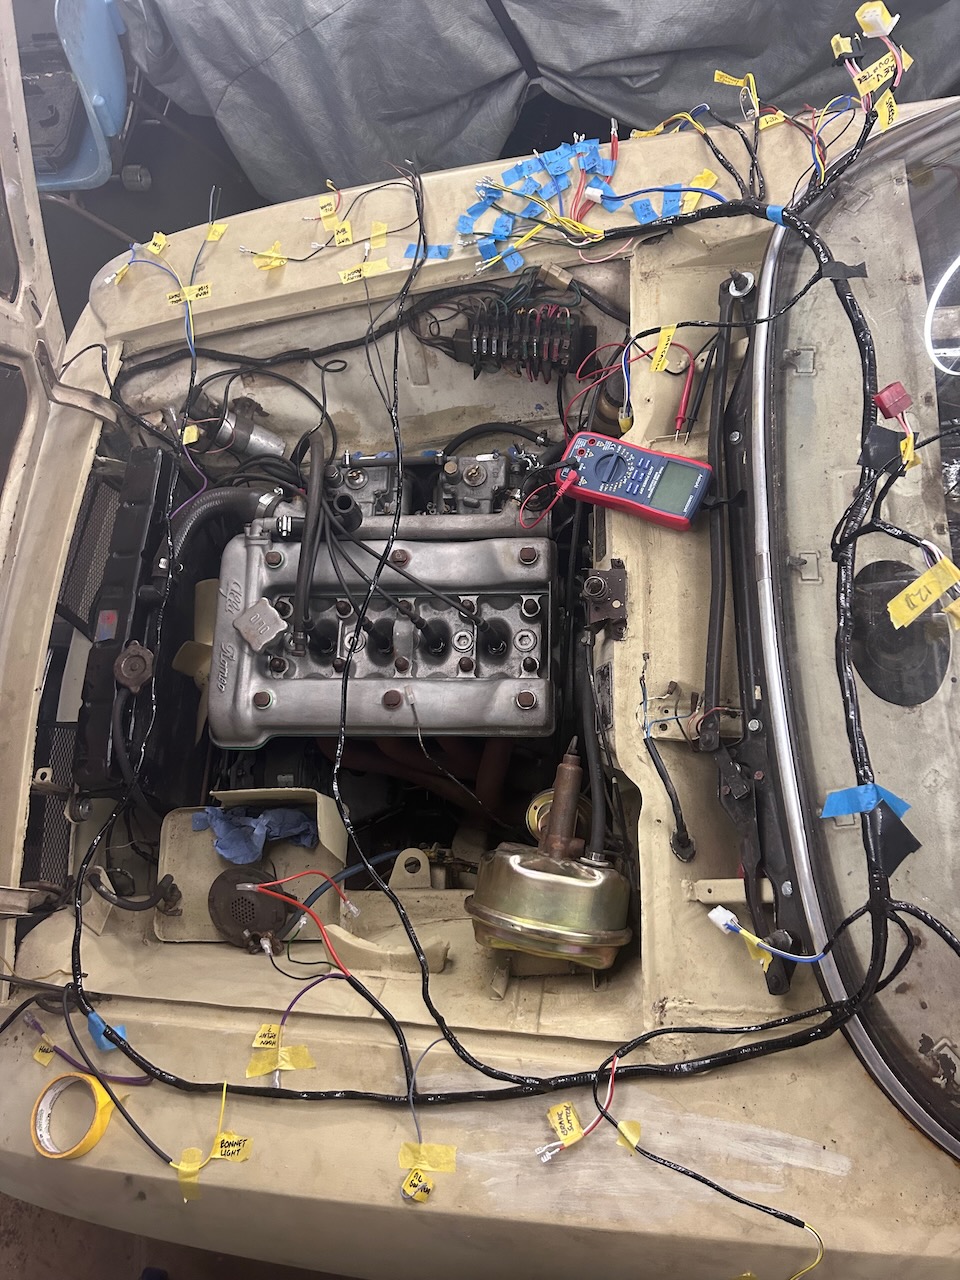
A new wiring loom was provided by Autosparks, who have been very helpful. It isn't quite correct for the 'flat dash' models of this car though. The dash in these cars has all instruments behind the steering wheel, but the loom they provided expects oil, water and voltage meters to be in the centre console. With some minor modifications, I think we will be okay.
I laid the loom out, and it is largely similar to the one that is in there, but with some oddities. My car was built as a knockdown kit in South Africa. That means that Alfa were trying to save some money by building the cars in country. As a result they may have been required to source some parts locally and I wonder if the wiring loom was one of these things. That might explain the differences between what auto sports have provided and what is in there.
Scuttle Rot

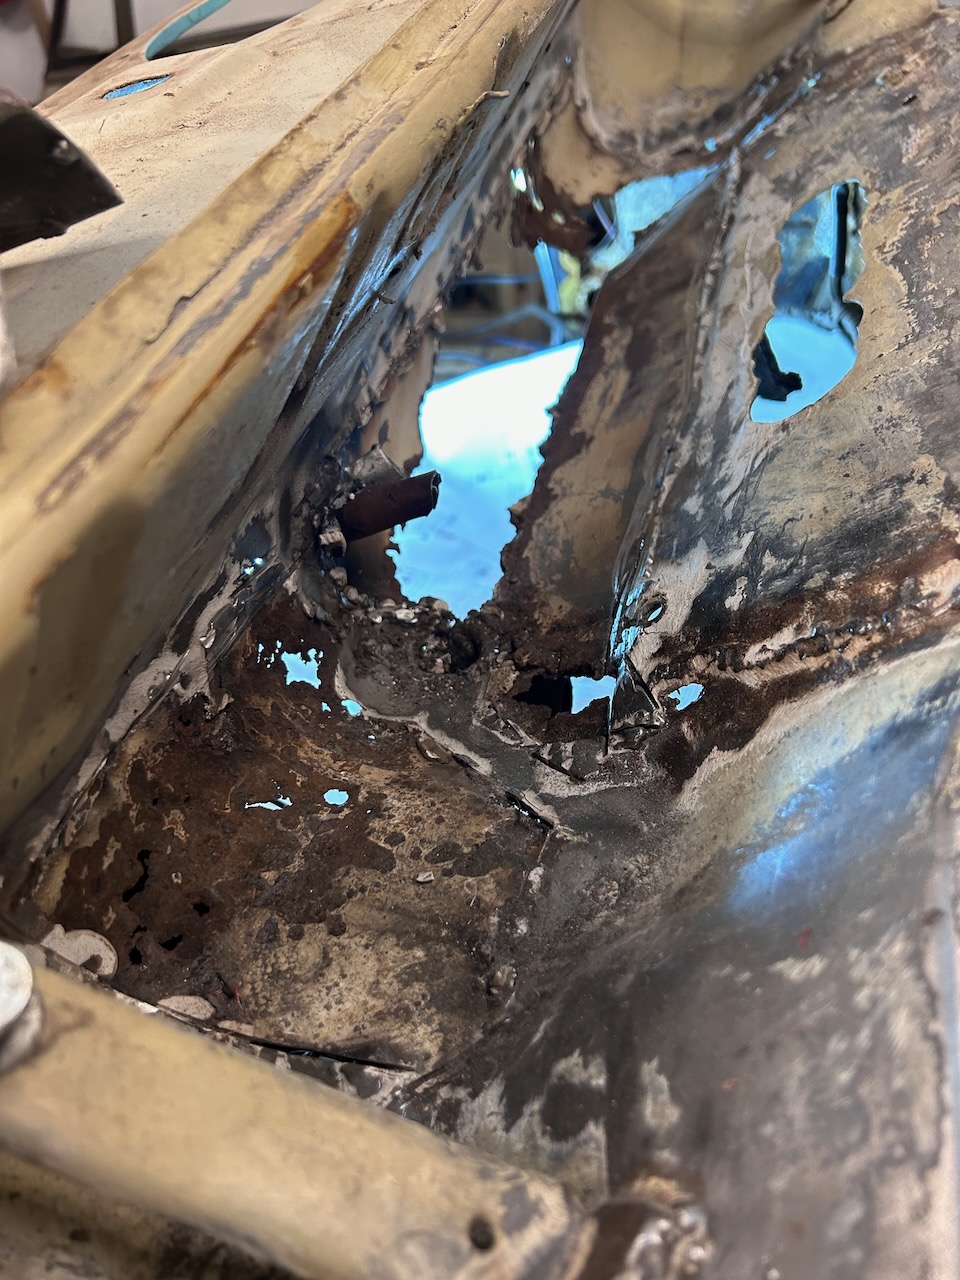
The car is basically honest. You can see where the rust is, and I can tell, that for the most part it is all steel with no filler. However, looking underneath the dashboard I could see some strange strands of white material coming out of what looks like a poor repair.
We took the wipers out and started looking at the repaired area from above. There seemed to be some filler so we started on it with a wire wheel and a grinder and a finger sander.
After a while we discovered the extent of the bodge. The grille over this area has been stripped, but not painted by somebody, so it was going rusty. And the exploring the bodge just got worse.
We spent some time using expanding foam to try and get a shape for this rather complicated area. We taped over the gaps where the rust was once we had removed the body repair. Then we sprayed foam into the hole and tried to make a copy of it.
This wasn't entirely successful.The complexity of the shape and the difficulty of physically reaching the area was also a significant challenge. So after some weeks of frustrating welding, re-welding and trying again, we decided to put this part of the project on the back burner. I think that welding a wing on would have been more simple as a starter project. I chose to do the scuttle area because I thought it would be out of sight. Obviously someone else doing a previous repair had the same idea.
I was not prepared, however, to budge this. So we will return to this problem at a later date.
Removing the engine

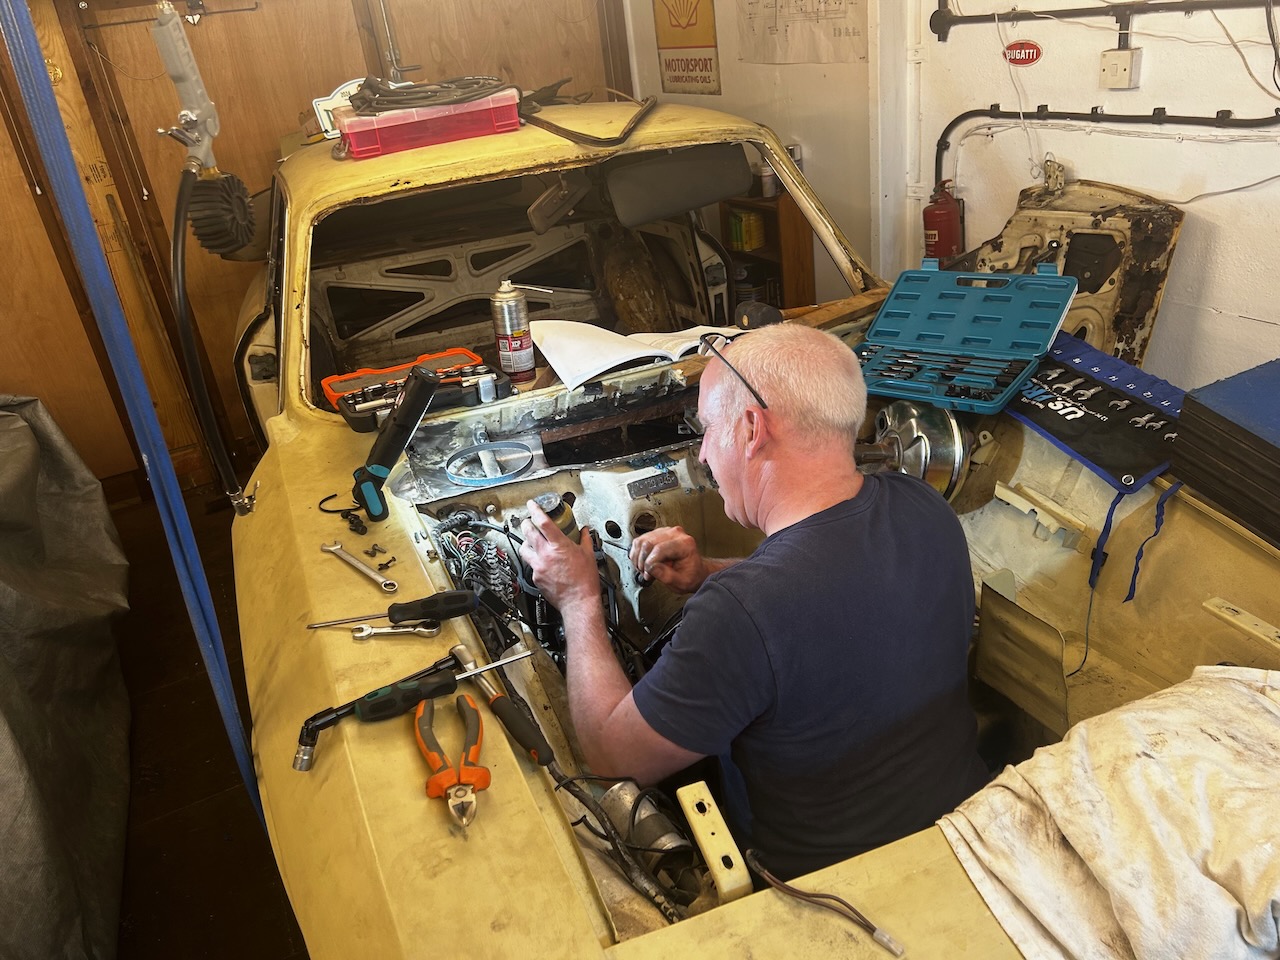
To make life easier, we removed the engine. This gave us much better access to the engine bay as you can imagine.
I found a lot of things that were held on by only a couple of bolts or nuts. The engine for a start: this should have been held up by four bolts, but in reality it was held on by one. Removing the engine required us to disconnect the driveshaft, which also should have been held on by four bolts. It was held on by one.
Less critically, the coil was held on by one screw. The accelerator pedal was held on by two screws instead of three. I have lately discovered that the wheels on the passenger side are only held on by three nuts instead of four. All in all it's a bit scary.
I am very glad I did not drive this car home.

